Skip to main content
Skip to footer
Search
Come Visit Us
Services
Bulk Delivery in Utah
Plant & Tree Delivery Utah
Landscape Design Utah
Events at Glover Nursery
Seasonal Markets
Spring Gardening Nursery in Utah
Summer Gardening Nursery in Utah
Christmas Tree Lot & Holiday Market
About Us
Donations
Careers
Plant Library
Gardening Essentials
Bulk Products
Bagged Landscape Products
Other Gardening Essentials
Gardening Resources
How To Install A Pondless Drilled Rock Fountain
Plant Diagnosis / Warranty Inquiry
Utah Plant and Tree Planting and Watering Tips
Warranty Policy
Our Return Policy
Pest Finders
Soil and Mulch Calculator
General Inquiry
Gift Card Request Form
Blog
|
Monthly Sale
|
Map
|
Wholesale
Regan Glover
Search
Sustainable Watering: How to Help Your Plants Survive Drought in Utah
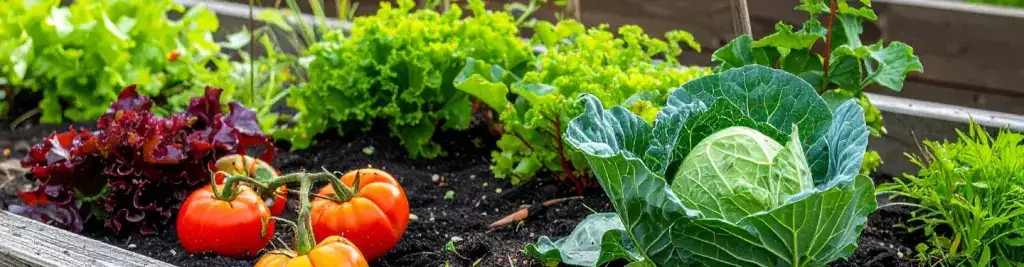
When Can You Start Your Vegetable Garden in Utah?
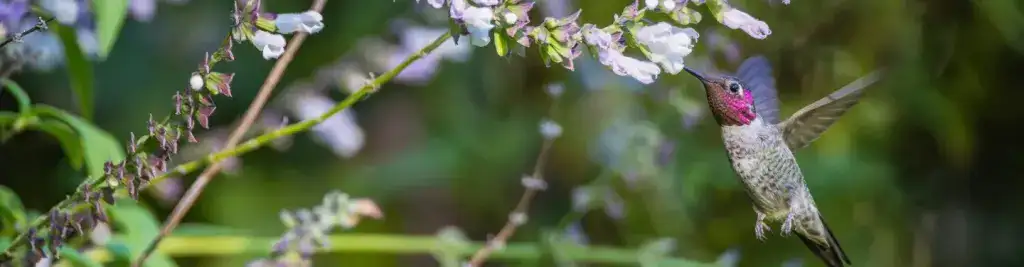
Here’s How to Attract Hummingbirds for Your Fall Garden
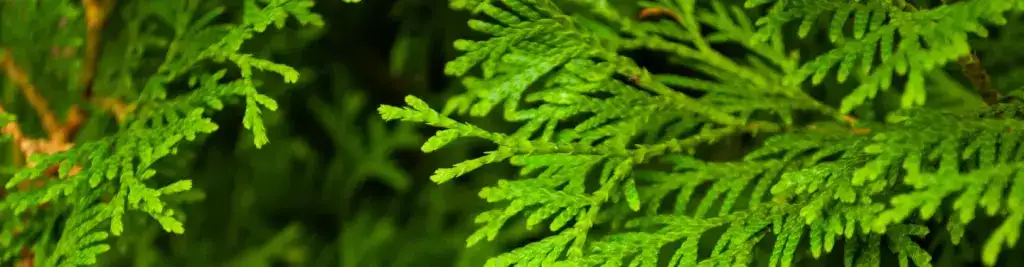
The Beginner’s Guide to Arborvitae Fall Care
Your Hydrangea Fall Care Checklist
The Purpose of Mulch: The Ultimate Guide for Utah Residents
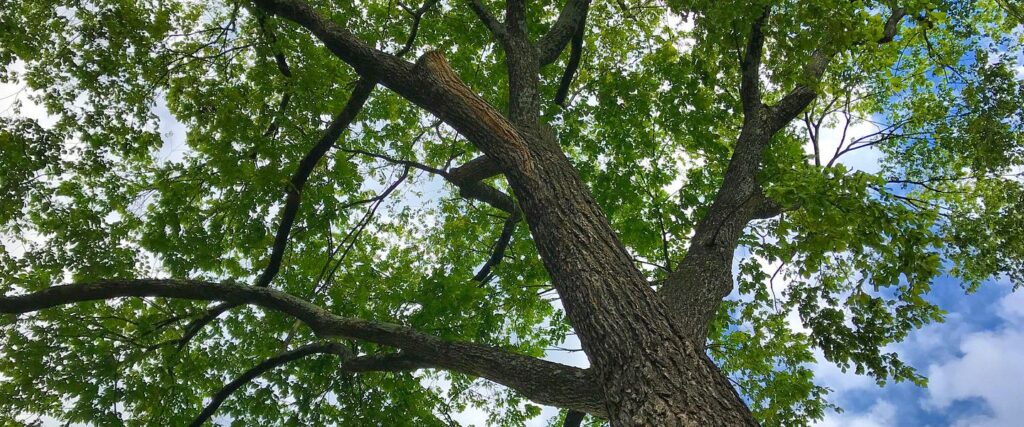
The Many Benefits of Shade
Natural Ways to Cool Your Yard
Gardening It’s All in the Family
Your To-Do List: April Gardening Tips